Contents
What’s a MultiRouter?
A MultiRouter is a virtual router defined in RouteMaster that combines several physical routers, typically joined together with tie-lines. A tie-line is simply a connection between two routers. RouteMaster allows you to route a source one one router to a destination on another, and manages the allocation of tie-lines between the various routers.

When do you use a MultiRouter?
MultiRouters are useful in several situations
- Combining two smaller routers to make a larger one
- Controlling routers in different locations with comparatively high-cost links between them
- Combining routers using different signal formats (eg NDI vs. SDI, or HD vs SD) with signal converters installed on the tie-lines.
In all cases, the combined MultiRouter can be controlled as if it was a single router. RouteMaster automatically manages the allocation of tie-lines, routes signals to the tie-lines, and provides simple and seamless control to the operator
Configuration
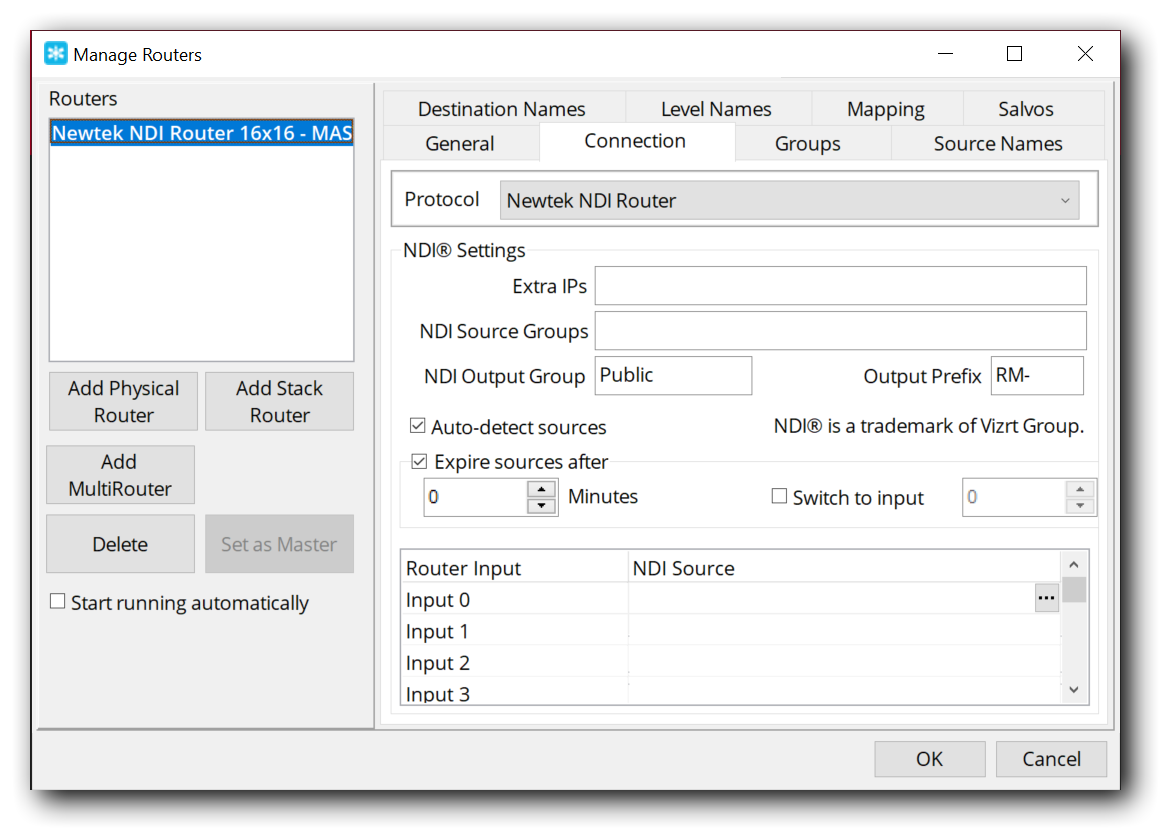
Let’s take a simple – and common – example. You are expanding an SDI facility, but incorporating NewTek’s NDI video technology. RouteMaster VR has full support for creating a virtual NDI router, but we need to integrate this seamlessly into the existing SDI system, which uses (for example) a 32×32 AJA KUMO SDI router.
First, we’ll configure a 16×16 NDI router in RouteMaster., and check it works as expected.
Now add a second router – the AJA KUMO, and set it’s IP address. KUMO routers use the Grass Valley Native protocol. Set the KUMO router to be the MASTER Router, and check it operates correctly . When there are multiple routers configured, it’s the MASTER router which all RouteMaster clients and control panels actually control.

It’s sensible to check the routers operate correctly in RouteMaster before building a MultiRouter, as it’s easier to diagnose problems at this stage.
Adding the MultiRouter
Use the “Add MultiRouter” button to create the MultiRouter. You should set the router size to the sum of the NDI and SDI routers – so, in this case, 48 x 48.

Adding Routers to the MultiRouter
Add the existing routers to the MultiRouter using the “Router Mapping” section on the MultiRouter tab. First, add the NDI router we configured earlier. This should appear in the dropdown list. Specify an alias – a short friendly name. I’d recommend “NDI”.
Next, add the KUMO router we configured earlier. Again, specify an alias – like “KUMO”. The configuration should now look like this:

Specifying Tie-lines
Our 48×48 MultiRouter is now configured, and the first 16 inputs and outputs (0 to 15) are mapped to the NDI router, while the remaining 32 (16-47) are mapped to the KUMO router. You should now set the MultiRouter as the Master Router
You can now make routes that involve just one router. For example Input 5 to Output 10 would make an route in the NDI router. Routing Input 20 to output 30 would route KUMO input 4 to output 14.
What happens if you want to route an NDI source to an SDI output? RouteMaster doesn’t know how to route between the two routers, so we need to configure a tie-line. Let’s assume we have a single throw-down converter from NDI to SDI, connected to Input 0 of the KUMO. (Remember, all input and output numbers in RouteMaster start at zero, not one!)
You must configure this converter to receive an output from the RouteMaster system. This is usually done with using the converter’s configuration software, and is outside the scope of this document. Let’s assume we have configured it to use RouteMaster NDI output 4.
Select Add Tie-line to create a new tie-line. Most of the fields are self-explanatory.
Each tie-line should have a unique name. When explicitly freeing a tie-line, the “Disconnect Source” on the source router will be routed to tieline output from that router, and the “Disconnect Source” on the destination router will be routed to any router outputs currently routed from the tie-line input.
The “Tie-line cost” allows you to prioritize certain tie-lines. When choosing which tie-line to allocate, RouteMaster will try to minimize the “cost”.

Using the MultiRouter
Now that the tie-line is added, we make route any one NDI source to outputs on the KUMO router. Because there’s only one tie-line, we cannot route two different NDI sources. to the KUMO. Adding additional tie-lines or will give extra functionality. Tie-lines are unidirectional, so an additional tie-line (and converter) would be required to route SDI sources to NDI outputs.
RouteMaster tracks which tie-lines are in use, attempts to find a free tie-line when required. If none are available, the route cannot be made. Routing the same source to multiple destinations on the ‘other’ router only requires a single tie-line.
Multi-Hop Routing
Multi-hop routing uses multiple tie-lines and intermediate routers to determine a signal path in a complex system. For example a source on router A is routed via tie-line to router B, then via a second tie-line to router C.

While RouteMaster allows you to configure complex topologies and multiple tie-lines, it does not automatically make multi-hop routes. This feature is planned for a future release
Viewing Tie-Line Status
You can view the status of tie-lines by selecting View Tie-Line Status from the Settings menu. The display will automatically update to reflect changes.

Freeing Tie-Lines
Tie-lines can be freed from the tie-line status display by right-clicking on the tie-line and selecting Free Tie-line
The disconnect source from the source router will be routed over the tie-line, and all outputs on the destination router which used the tie-line will switch to the destination router’s disconnect source. Outputs which were not using the tie-line are unaffected.

Tie-Line Control from WebSocket API
Extensions to the WebSocket API allow clients to easily monitor the status of tie-lines, and to free them for subsequent use. This control is also possible from Helm panels via Lua scripting